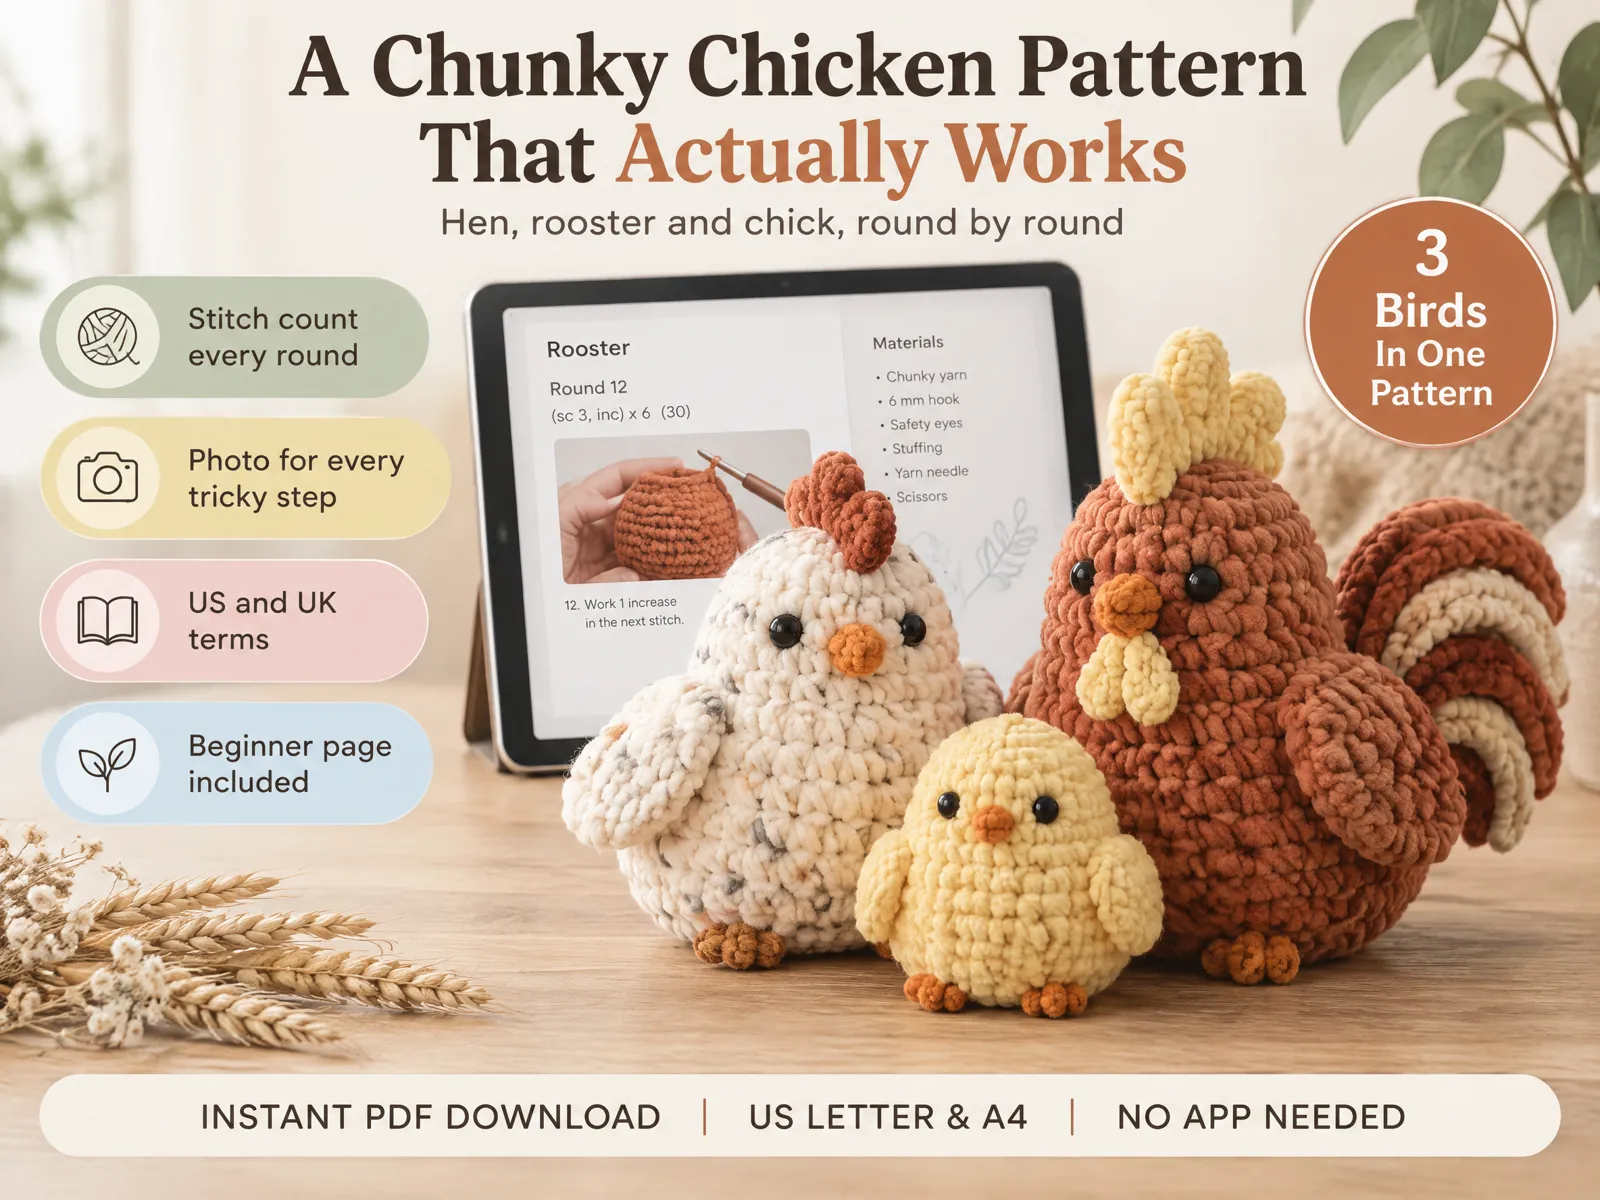
How to Crochet a Chicken: Hen, Rooster and Chick, Step by Step
How to crochet a chicken: follow the parts in order, check each round, and choose the hen, rooster, or chick version for your next project.
By Cluck & Stitch by Cosmo Suite · Editorial policy
Published · 8 min read
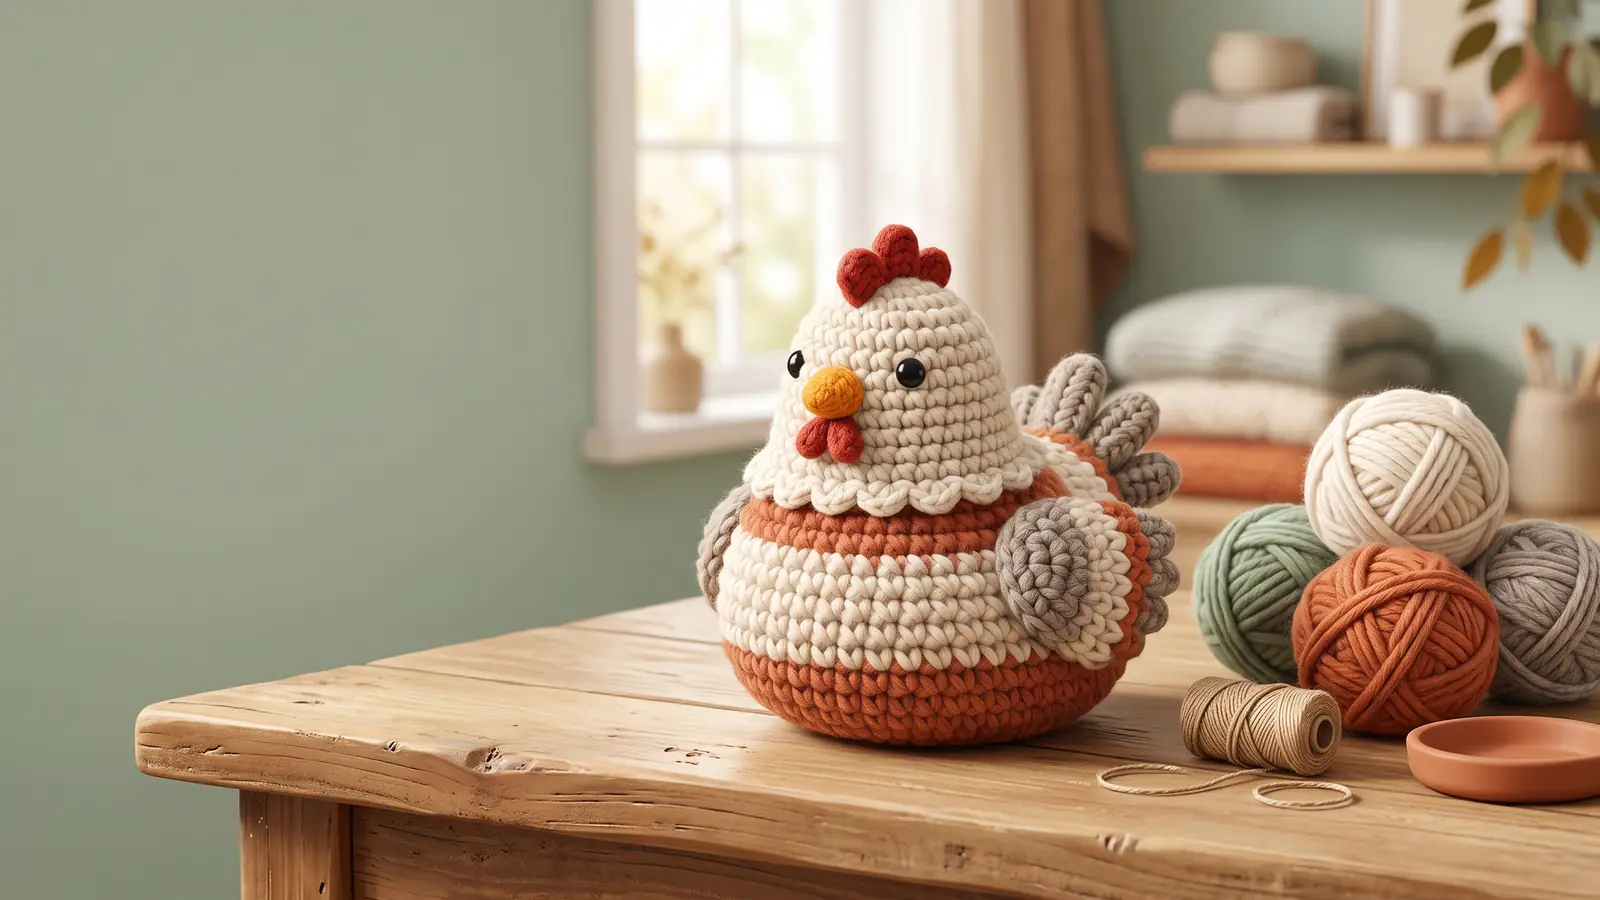
When you crochet a chicken, you need to know which pieces come first, where each round ends, and when to attach the details. If you are new to amigurumi, tracking the stitch count can feel like a lot while you learn the stitches. Check the count after each round to keep your place.
This guide follows the order used for a chunky hen, then shows where a rooster or chick variation can differ. It explains how to read and check a pattern. For a full set of stitch instructions, the Amigurumi Chicken Pattern includes hen, rooster, and chick variations.
In this guide, amigurumi chicken means a stuffed chicken figure made by crocheting yarn into a shaped fabric. The EU adult-learning platform EPALE describes amigurumi as a type of crochet and explains the Japanese word roots for crocheting or knitting and a stuffed doll.
Key Takeaways
- Choose the size and gather the materials listed for it.
- Mark the start of each round and compare its count with the pattern before moving on.
- Follow the pattern's own order for assembly and its separate hen, rooster, or chick instructions.
How to crochet a chicken at a glance
Work from the main shape to the smaller details. Check the pattern's stitch total at the end of each round.
| Stage | What you do | Check before moving on |
|---|---|---|
| Prepare | Choose a size and gather the listed yarn, hook, stuffing, eyes, and notions | The yarn and hook match that size's materials list |
| Shape | Work the body and head in the order the pattern gives | Each round ends with the pattern's stated count |
| Assemble | Place and attach the comb, wattle, wings, and feet as directed | Pieces sit in the intended position before you sew them down |
| Personalize | Follow the hen, rooster, or chick variation | Change only the pieces named in that variation |
Patterns differ in how they combine parts and when each piece is attached. Use this table as a map, then follow your pattern for the exact construction. For a pattern with photos at difficult steps and a count at the end of every round, look for those details in its contents list.
Gather materials and read the pattern first
Before you make a magic ring, check the pattern's materials list and terminology. A chicken pattern can call for a specific yarn weight, hook, safety eyes, stuffing, and small notions. The right materials may differ by size, so use the list for the size you plan to make instead of guessing from a photo.
Read the stitch key before starting. In US crochet terms, sc means single crochet, inc means increase, and dec means decrease. UK terms use some different names for stitches. The Craft Yarn Council's commercial crochet abbreviation reference shows common abbreviations and the US-to-UK differences. Check the pattern's stated terminology; do not assume a pattern uses US terms because it was written in English.
If single crochet is new to you, start with the Craft Yarn Council's single crochet lesson. Practise with the yarn you plan to use. Chunky yarn can make stitches easier to see, although dark or highly textured yarn may hide the top loops. Find those loops before inserting the hook.
Check whether the pattern uses continuous or joined rounds. Continuous rounds form a spiral. Joined rounds close before the next begins. Follow the method in the pattern; changing it can shift stitch placement and shape.
Crochet the chicken in a useful order
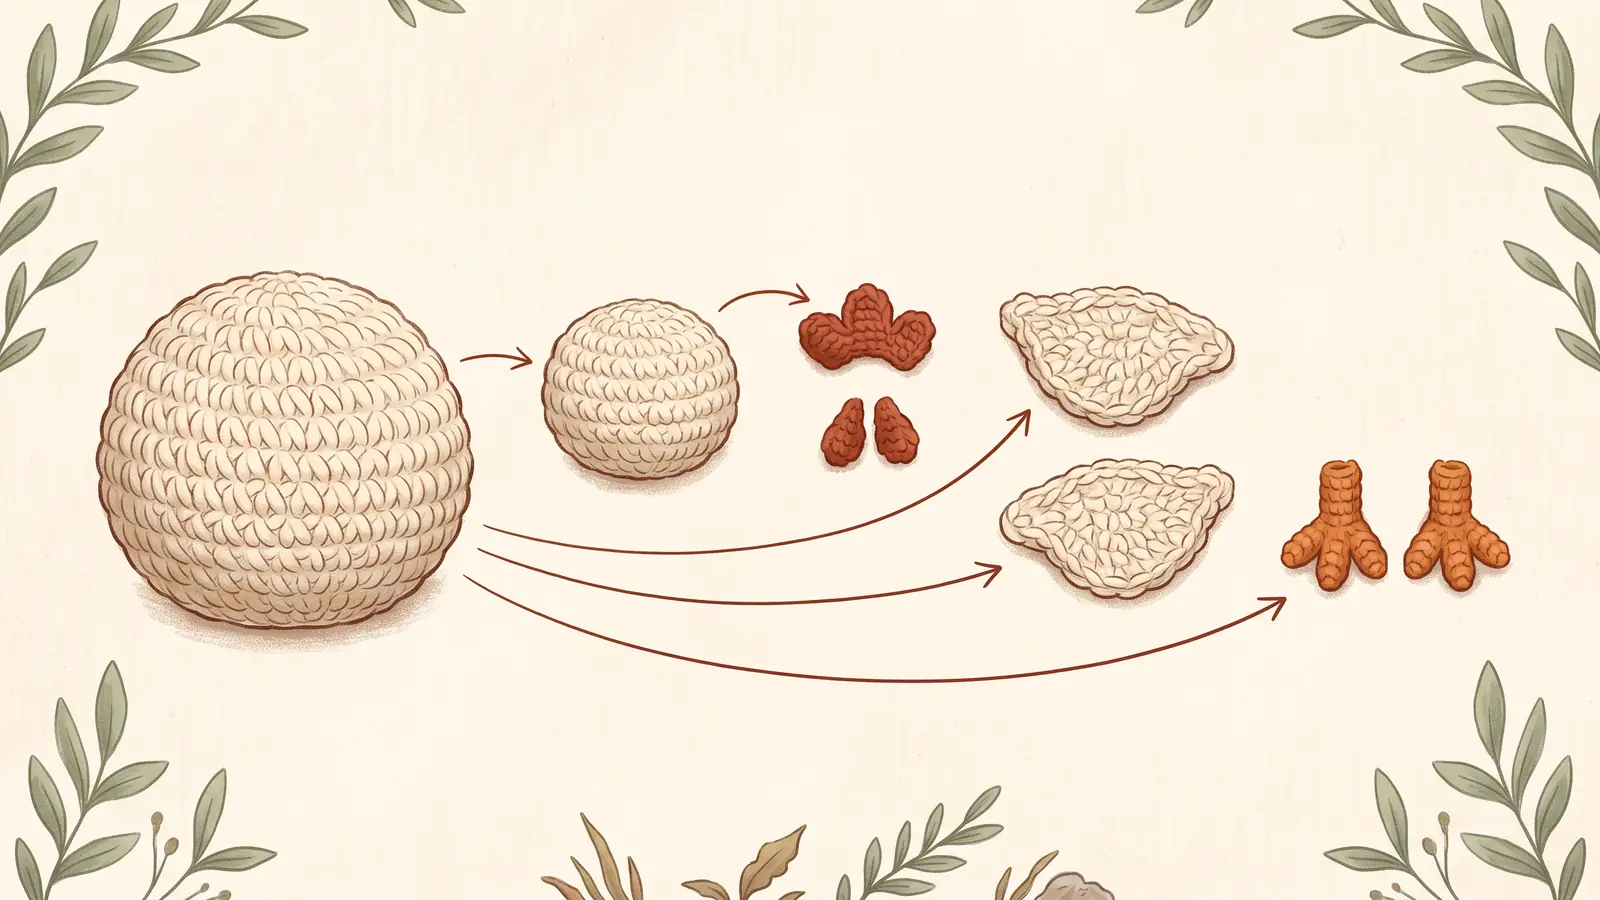
Think of the chicken in parts. The pattern sets the order and shaping; this map shows how the pieces fit together.
Keep two checks separate: the stitch count checks the round, while a placement check checks the shape. A round can have the right count and still produce an uneven silhouette if an attached piece sits too high or too far to one side. Count while crocheting. Then pin each detail and compare both sides before sewing it down. This two-check method helps you locate the source of a mismatch: stitch work or assembly.
Start with the main body
Begin with the body instructions and mark the first stitch of each round if the pattern works in a spiral. Read the full round before you start it. Note where an increase or decrease appears, and whether the instruction repeats across the round. After you finish, count the stitches and compare the total with the pattern.
If the body narrows or widens, the written increases and decreases create that shape. Avoid adding or skipping stitches to make the fabric look more even. First confirm that each stitch was worked into the correct place. A change to the count can alter the body shape and affect where later pieces fit.
Follow the head instructions
The head may be part of the body or a separate piece. Follow the construction steps in order, even when a piece looks ready to attach. If the head is separate, check its placement and orientation before sewing. Leave enough yarn for the seam if the pattern says to use the working tail.
Add the comb and wattle
The comb sits on top of the head, and the wattle hangs near the beak. Hold each piece in place first. Check the front and side before attaching it; a small shift can change the expression. A photo can help you compare placement.
Place the wings and feet
Use the pattern's placement guidance for the wings and feet. Compare both sides before sewing. If it gives a row or stitch location, follow it instead of estimating from the edge of the fabric.
Use a round-check routine to keep your place
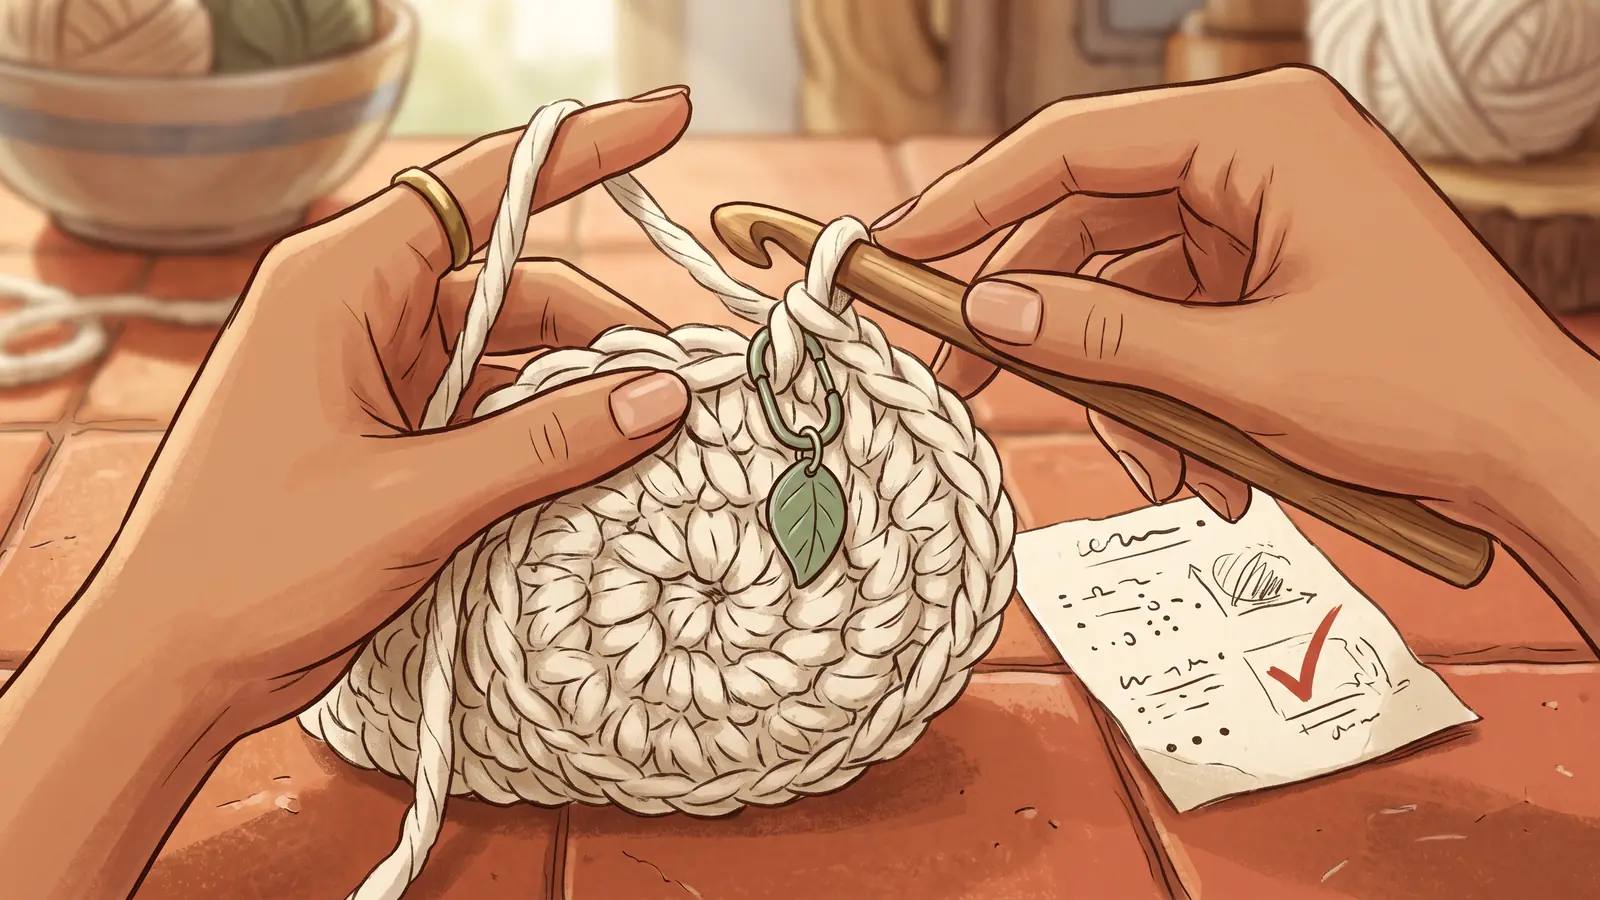
A stitch marker shows where a round begins. It does not confirm the count. LoveCrafts recommends moving a marker as you work through a round-based pattern. Check the round against the count printed in your pattern before moving on.
| When | Check | If something differs |
|---|---|---|
| Before a round | Find the start point and read the full instruction | Mark the first stitch and identify the repeat |
| During a repeat | Keep track of the stitches already worked | Stop at the next repeat boundary and recount from the marker |
| At the end | Count the round and compare it with the printed total | Look for a skipped stitch, an extra stitch, or a repeat worked twice |
| Before the next round | Confirm the count and move the marker | Correct the round now instead of carrying the difference forward |
When a pattern marks an increase, follow its instruction for adding stitches. For a decrease, follow its instruction for combining stitches. Both change the total, so use the count printed for the current round as your check.
If your count does not match, pause. Start at the marker and count each stitch once. Then trace the instructions in order and look for the first point where your work diverges. Undo the affected section instead of compensating in the next round. When the pattern includes a photo for that step, compare the stitch placement as well as the finished shape. For example, if the count matches but the body tilts, keep the count and inspect the placement of the parts before sewing.
Shape a hen, rooster, or chick
The hen, rooster, and chick can share a basic chicken shape, while the pattern's variation instructions change the details or proportions. Follow the named option from its start point. Do not mix parts from two versions unless the pattern says they are interchangeable.
The pattern may change the comb, tail, or proportions between versions. Details vary, so check which pieces the instructions change. Keep the base pattern's stitch counts wherever the variation tells you to.
If the instructions offer two sizes, select one before you gather materials. Use the yarn and hook listed for that size, and keep the materials together while you work. Changing yarn weight or hook can change the fabric and finished proportions, so a size adjustment should follow the designer's guidance.
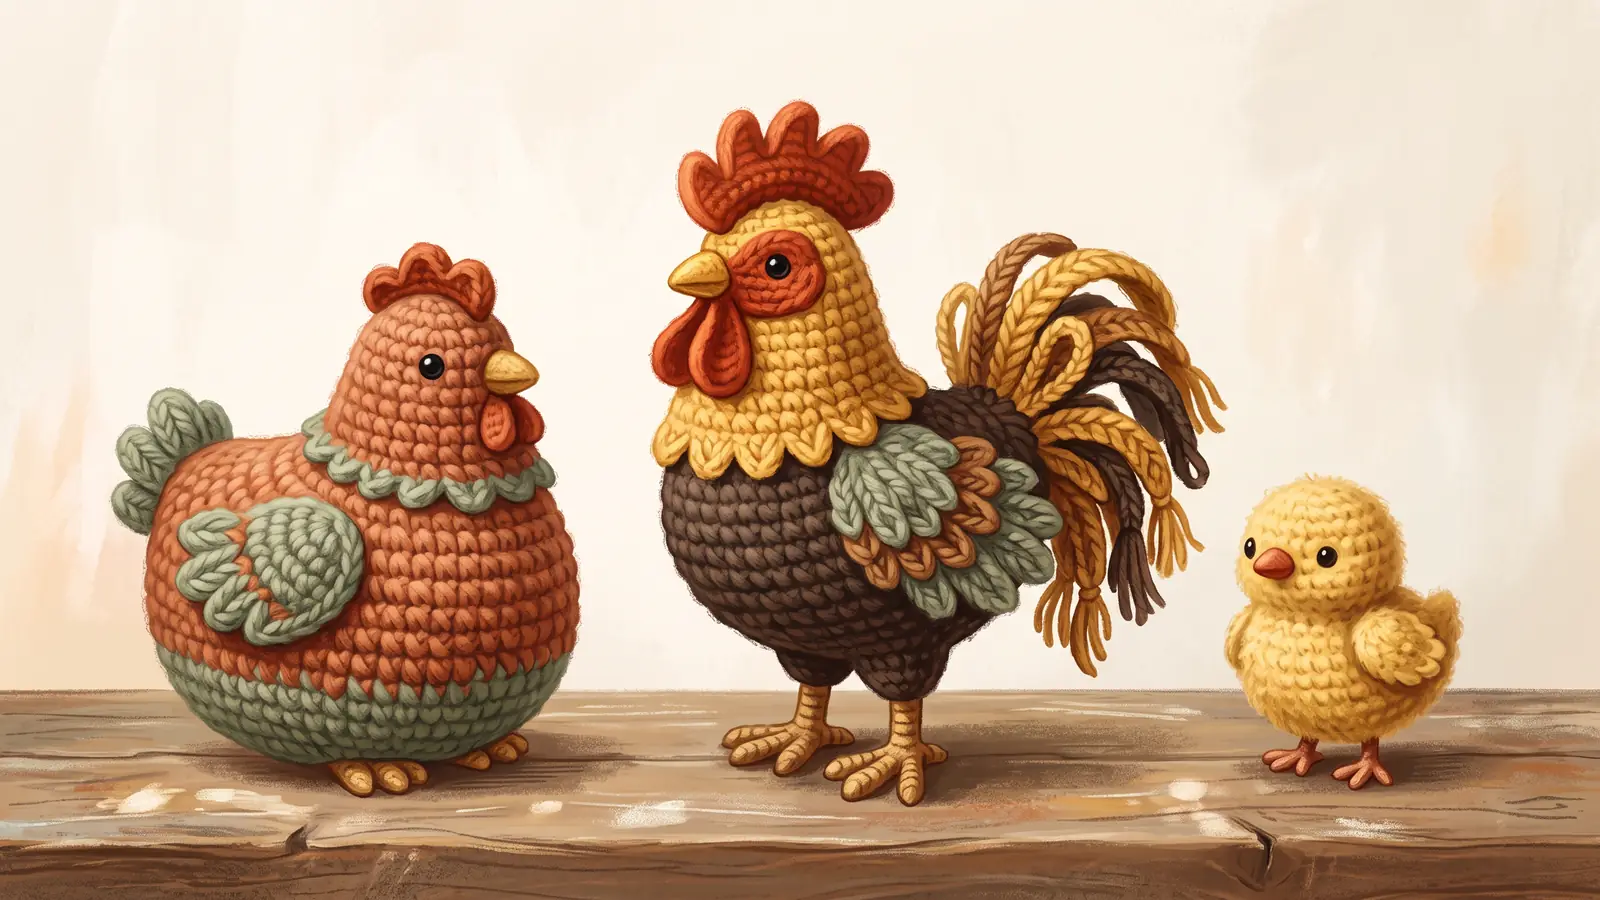
For a pattern that keeps the hen, rooster, and chick instructions together, check its contents list and size notes before you begin.
What makes a chicken pattern easier to follow
A pattern can support two separate checks. The count tells you whether the round matches the instruction; placement tells you whether the finished shape is balanced.
- A count at the end of each round: use it before you begin the next one. It gives you a specific place to pause and check.
- A clear abbreviation key: confirm whether the pattern uses US or UK terms before reading
sc,dc, or another stitch name. - Photos where the shape changes: look for them around assembly and details, where placement can be hard to picture from text alone.
- Materials listed by size: choose the correct yarn and hook before you start, especially when the pattern includes more than one size.
When you compare patterns, look for these supports alongside the finished design. The stitch count helps you check each round; a photo can show where the comb sits. Together they help you check the stitching and the assembly. The Amigurumi Chicken Pattern's round counts and photo steps are designed to keep those two checks close to the instructions.
Why Trust This Article
Amigurumi Chicken Pattern is a Cosmo Suite product site. Its About page and editorial policy explain the company and how content is made. This guide draws on the product contents and the linked Craft Yarn Council and U.S. Consumer Product Safety Commission references. No named crochet designer or independent test is claimed for this article.
Choose a pattern that matches your next step
If you know single crochet, increases, and decreases, follow the pattern's round order and check each stitch total. If you are still learning, start with its beginner instructions for the magic ring, single crochet, increase, decrease, and reading a round.
The Amigurumi Chicken Pattern is an instant PDF with a round-by-round hen pattern, rooster and chick variations, two sizes, a bandana, flower crown, and scarf, photo steps, US terms with UK terms beside them, and a materials list. A real maker made and tested the pattern. It also includes a beginner page for the basic stitches and pattern notation. See the full Amigurumi Chicken Pattern details to decide whether its format fits your next project.
Frequently asked questions
What do I need to crochet a chicken?
Use the yarn, hook, stuffing, eyes, and notions listed for your chosen size. Keep a yarn needle and scissors nearby, and use a stitch marker when the pattern calls for one.
Do I need to know how to crochet in the round?
Learn to make a magic ring and single crochet, then practise increases, decreases, and reading the repeat notation in a round.
How do I keep track of crochet rounds?
Mark the first stitch, follow the pattern's repeat, and compare the round with its printed stitch count before moving on.
What should I do if my stitch count is wrong?
Pause before the next round. Recount the current one, then trace the repeat to find a missed or extra stitch. Use any correction notes in the pattern.
What is the difference between a crochet hen, rooster, and chick?
A hen, rooster, and chick version can share a base shape, while their details or proportions vary by pattern. Follow the instructions for the version you chose.
Are safety eyes suitable for a toy for a young child?
Safety eyes can be small components. The CPSC bans children's products intended for under-threes that present a small-parts hazard. Check the toy's age guidance; embroidered features still need secure stitching.
Sources
- Craft Yarn Council, Crochet Abbreviations and Symbols Found in Commercial Patterns
- Craft Yarn Council, Learn Single Crochet
- EPALE, What is amigurumi?
- LoveCrafts, Amigurumi for beginners: everything you need to know!
- Electronic Code of Federal Regulations, 16 C.F.R. part 1501
- U.S. Consumer Product Safety Commission, Small Parts Ban and Choking Hazard Labeling